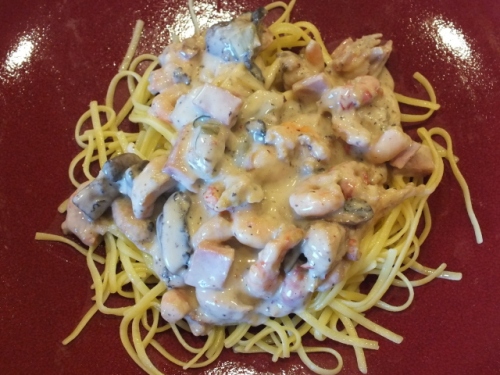
Alfredo Sauce Without the Dairy? But of Course!

20 Comments

This recipe comes from an original post (June of 2012) at my old blog home.

So, I cannot take all the credit for this scrumptious dish as it was my hubby (coincidentally, also a scrumptious dish!) who actually came up with the idea and made the first batch we ever ate.

But the following is my own rendition that I made for HIM!

Turn about is fair play, as far as I’m concerned.

If you’re not a seafood fan, I won’t pretend to understand you, but you can leave the seafood out.

Simply serve with any other meat you would like to be involved in this Alfredo relationship.

Or if you’re vegan (I…cannot comprehend, but, hey! We’re all food freaks here and respect each others weird, freaky food issues.), just serve it all by itself or with your favorite veggies.

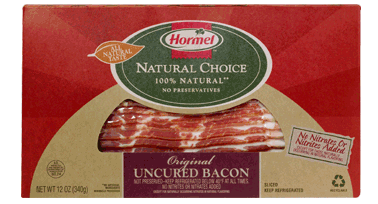
But the recipe is my traditional one. So that means we must begin with the bacon.

Such as:

Fry up half the package in a skillet.

Remove and drain on a towel when the bacon is nice and crispy. When it is cool, crumble it all up.

Drain *most* of the grease and reserve just enough to saute’ mushrooms.

I guess I should warn you at this point that this recipe is in no way, shape or form low fat or pretending to be.

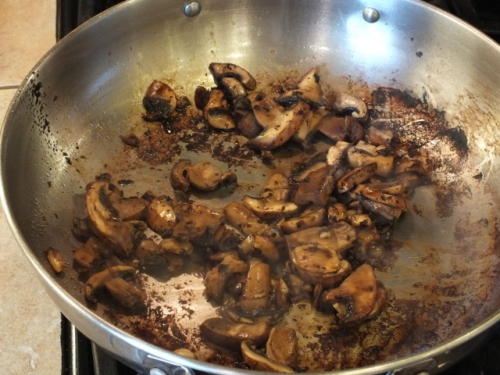
Next, add your mushrooms to all that bacony goodness.

I guess I should also make the disclaimer that while I own a really nice camera, I think I was in just too much of a hurry to fiddle with all the settings and used my crummy phone camera instead. Either that, or I just skipped editing. Either way, we got the pics and that’s all that matters.

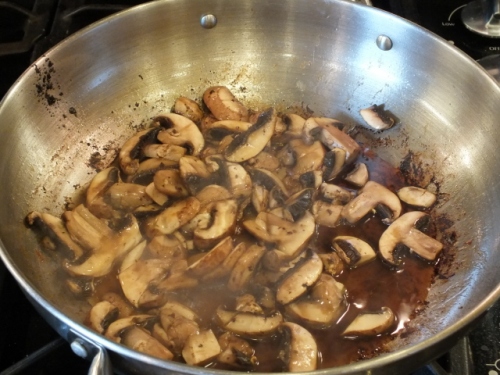
Then, add about 1/2 cup of burgundy cooking wine to the skillet. This is optional for those who either cannot tolerate the ingredients or just don’t realize that whatever alcohol is in the cooking wine simply cooks off  anyway, leaving just its awesome flavor behind.

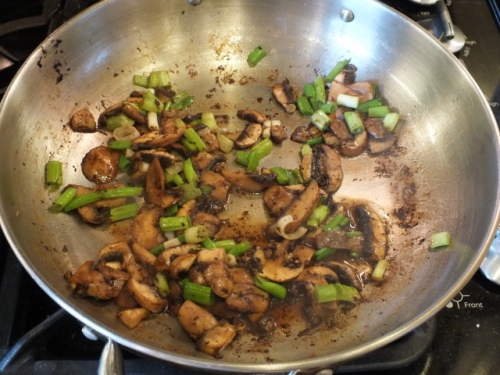
Chop up some green onions and throw them in there too. Do not cover the skillet at any time. Let those shrooms absorb as much of that liquid as possible. And stir up those bacony bits into it also.

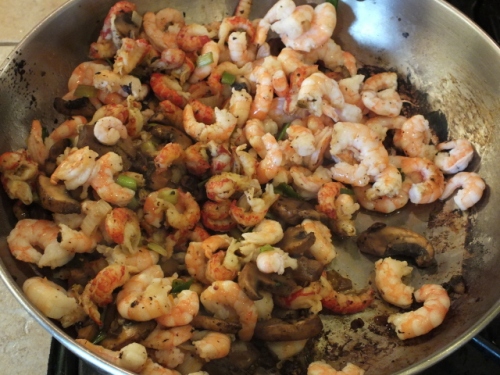
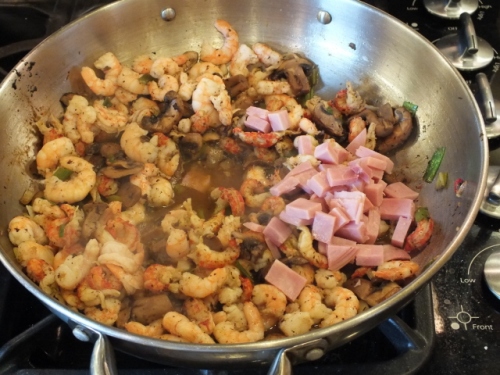
The next part is your choice of meats.  Since I was making this for my hubby, he requested shrimp, crawfish, (which he affectionately refers to as ‘sea bugs’. Nice.) bacon and ham.

An important step is to always rinse, thaw and drain any frozen seafood first. Otherwise you will have a big mess of liquids you did not want in your Alfredo.

You may add any other protein you may want here at this point.

Saute’ all the meats (except for the draining bacon) until they are heated through and/or cooked. I also added ham (Hormel Naturals).

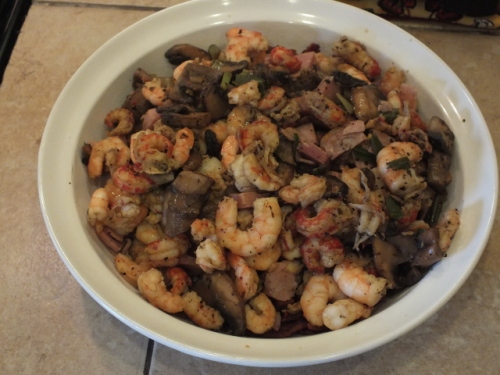
Drain off any liquid (toss it!) and transfer the meats/shrooms/onions and bacon into a bowl.

Cover the bowl with foil to keep the meat warm.

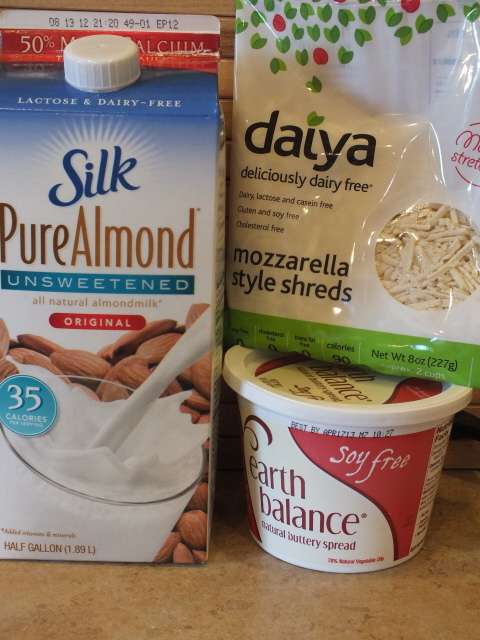
Next, you will need an Original Unsweetened milk (almond, hazelnut, etc).

Also, you will need Earth Balance spread and one package of Daiya cheese.

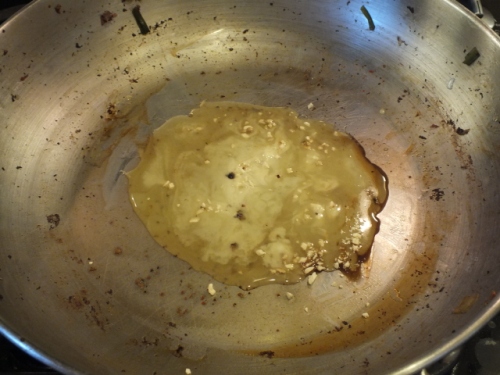
Melt 1/4 cup Earth Balance in the skillet with one to two cloves of minced garlic and a shake or two of pepper.

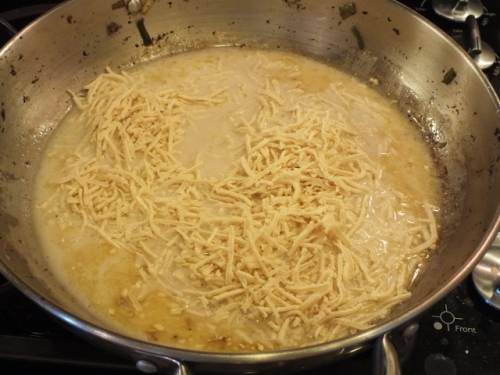
Next, add 1 1/2 cups of the almond milk. Heat for a few minutes on medium heat.

Then add the entire package of Daiya. See how liquidy it is? Never fear! It will thicken. I promise.

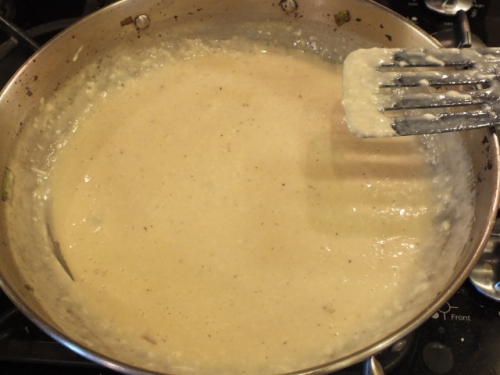
Now it is the waiting game. You will need to stir, stir, stir your milky, cheesy, Earth Balancy mess. I use a slotted spatula so I can squish all the cheese down as it melts and scrape the bottom of the skillet. Keep it on medium heat.

Keep stirring until the mixture thickens.

At this point, turn your heat down to medium low (or low if your range runs hot) just so that the cheesy mixture bubbles. Your cheese will be almost melted.

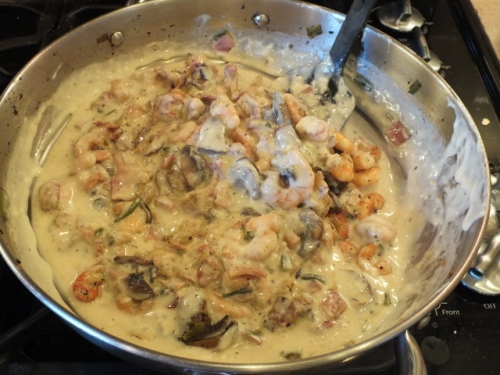
Once the cheese is melted, add your meats back to the sauce.

Sorry it’s not a Food Network worthy picture. I prefer reality here.

Keep it on low until ready to serve, stirring every few minutes.

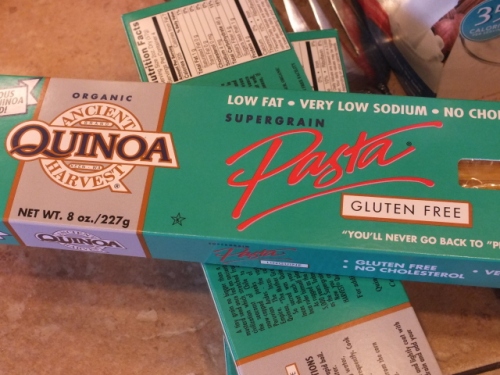
Cook up some allergy free pasta….

….and serve your yummy sauce right on top of it.

And then leave a comment telling me of your undying love for me.

Here is the quick run down of ingredients:

Dairy Free Alfredo Sauce

  • 1/4 cup Earth Balance Spread
  • 1 1/2 cups Original Unsweetened almond milk
  • 1 Package Daiya Mozzarella Shreds
  • 1-2 cloves garlic
  • Pepper

Meats and Such for the Sauce

  • 1/2 package allergy free bacon (such as Hormel Naturals)
  • 2 cups sliced mushrooms
  • 1/2 cup cooking wine

Any amount of the following:

  • Green onions
  • Crawfish, thawed
  • Shrimp, thawed
  • Diced Ham (such as Hormel Naturals)

Happy Eating Cheesy Things Again!
Pizza and Allergies: Compatible? You bet!

10 Comments

One of the first things I thought when the verdict of my food allergy panel was read was, “Pizza! How will I live without PIZZA?”

Well, I did. For a while.

And then desperation won out.

At the time, my boys had to be completely free of yeast in their diet and I was limiting it in my own diet as well.

Also, at the time, Daiya had not yet been invented.

So it really goes without saying that pizza was not much fun back in the day.

But now, thanks to Daiya, and limited introduction of yeast back into our diets, I can enjoy a pizza that rivals any parlor dish out there.

And no one would ever know it is allergy free:

Now, see that guy in the foreground there? See him? He’s the imposter. (He also doesn’t have any pizza sauce on him since I had run out of tomato paste. But that’s okay. He was a tasty little imposter anyway.)

The one in the background is the real deal, except for the fact that his crust is gluten free.

But no one would ever know that about him. He’s that good of an impersonator.

Ummmm….WHY am I referring to these pizzas as living beings?

I have no clue.

Let’s just move on with the recipes, shall we?

Alrighty then.

Here are the two crust versions (one with yeast and one without):

Pizza Crust – No gluten, dairy, soy, egg, yeast or corn

  • 1 cup GF flour
  • 1/3 cup milk (cow or unsweetened alternatives or water works well)
  • 2 Tb olive oil
  • 1 tsp baking powder
  • 1/4 (or a little bit more) tsp salt
  • If desired, sprinkle in a little bit of garlic powder and crushed, dried herbs

Combine all ingredients with a mixer and knead for just a few seconds.

On a slightly greased stone or oiled pizza pan (I highly recommend the stone), with slightly oiled hands, press the dough into a pizza crust shape.  Pre-bake for ten minutes at 425.

Remove from oven and top with your choice of toppings. Return entire pizza to oven for another ten minutes or until toppings are ready.

Pizza Crust – No gluten, dairy, soy, egg or corn

  • 1 cup warm water
  • 1 Tb yeast
  • 1 Tb sugar or alternative sweetener
  • 1 tsp salt
  • 1 Tb olive oil
  • 2 cups or more GF flour

Measure yeast into a large bowl and cover with warm water. Stir.

Next add the sugar and stir the mixture. Let sit for two minutes.

Add the salt and oil, then stir.

Gradually add the flour, mixing with a mixer. You may need to add just a little bit more flour until the dough is no longer sticky.

With oiled hands, press the dough onto a slightly oiled pizza stone (recommended) or an oiled pizza pan.

Pre-bake for ten minutes at 425. Remove from oven and top with toppings. Return entire pizza to oven for another ten minutes or until toppings are baked to your desire.

For a homemade pizza sauce, simply blend the following ingredients together in a sauce pot:

  •  12 oz  plain tomato paste
  • 1/4 cup cooking wine (optional, but it really makes the sauce.)
  • 1-2 tsp crushed oregano
  • 1-2 tsp crushed basil
  • 1 or 2 cloves crushed garlic
  • 1 tsp salt
  • 1 Tb olive oil
  • Water to desired consistency*

Combine all ingredients in a small sauce pot. Stir over medium low heat, adding water to desired consistency.

*Since tomato paste tends to be real ‘bitey’ , if you prefer your sauce to have a milder flavor, use thin, plain tomato sauce in place of the water. It will tame your sauce.


Happy Pizza Parties!

Pack a Little Happiness – Lunchbox Bars

2 Comments

It is that time of the year again: The leaves are turning, the footballs are flying and we mommies are wondering what to put in our allergy ridden child’s lunchbox.

Buying store bought goodies is expensive and usually means we are giving our kiddos not only sugar but bunches of preservatives as well.

Which is why I have my go-to lunchbox bars on hand often. They are easy to prepare, versatile for various food allergies and they also freeze well. Of course, with two almost seventeen year old men children in the house, they never quite make it to the freezer. Or to the cooling rack for that matter.

A warning, though: These bars are so scrumpdillyumptious you will have a hard time not sneaking ‘just one more little, bitty square’. Until you realize you have ‘itty bitty squared’ yourself into about four entire bars. They’re that good.

And now that you’ve been thoroughly warned, here is the recipe. (Remember, all of my recipes can be converted to traditional ingredients.)

Oat or Quinoa Chocolate Chip Lunchbox Bars

  • 1 ½ cups firmly packed brown sugar
  • (Update: I failed to mention that I only use I cup of brown sugar in this recipe as that amount makes it plenty sweet. However, if you are a sugar miser, go ahead and use the full amount. 😉  You can also use other alternative sugars, such as coconut or date.)
  • 1 cup shortening or butter or Earth Balance
  • 2 Tb. molasses
  • 2 tsp. vanilla
  • 2 eggs (if using duck eggs, only 1or 1 Tb prepared egg replacer or 4 Tb plain applesauce
  • 1 cup GF flour mix (or all purpose flour)
  • 1 tsp. baking soda
  • 1 tsp. salt
  • 3 cups GF oats or quinoa flakes
  • ½ to 1 cup chocolate chips (Enjoy Life, Guittard or Ghirardelli – check ingredients)

Pre-heat oven to 350.  Cream together brown sugar and ‘butter’.  Add eggs or replacer, molasses and vanilla.  Blend well.  Add all dry ingredients except for oats/quinoa and chocolate chips.  Blend well.  Blend in oats or quinoa.  Stir in chocolate chips.  *If batter is dry, add a little dairy free or regular milk or liquid of your choice.

Spread in greased 9×13 pan.  Bake for 25 to 30 minutes until edges are brown and center is set.  Cool for at least 20 minutes before cutting into bars

Recipe copywritten by The Freak Food Gourmet, Jaime Rohm 2007

Happy Eating Cookies Until Your Buttons Pop!

Where On Earth?!?!

Leave a comment

If you’re wondering where I’ve been….all three of you….click on THIS LINK to have your mystery question answered.


Happy Adventures!